

One of the questions I get asked a ton is how I created my own email signature. Today, I’m going to walk you through the SUPER simple & easy DIY way to build your own custom email signature.
Heads up: you do not need to hire a designer or use a fancy software to make this work! Just follow this short tutorial and create your own branded email signature in just a few minutes 🙂
What to Include in Your Email Signature
Before we get building, let’s first talk briefly about why this is so important & a few ideas for what to include in your email signature!
It sounds like such a simple thing, but I believe your email signature is a huge opportunity that a lot of people are missing out on.
Think about how many emails you send in a day – many of which are to new inquiries or prospective clients. Your email signature is a special place to build the like, know, and trust factors. It’s also a great place to set expectations and encourage the person to take action (like signing up for a freebie or scheduling a call!).
Here are a few ideas for what to include:
- Your name & title – pretty straightforward, but be sure to include your name and role. Feel free to make this fun & branded!
- A photo of you – this keeps it personal! Seeing someone’s photo builds way more trust
- Your colors – be sure to keep any colors on brand
- Response expectations – SO important! How quickly should they expect a response from you? Do you only check emails during the week? At certain times?
- A call to action – Encourage them to engage with you in some other way. Do you have a freebie they can download? A Facebook group they can join? Do you want to encourage them to schedule a discovery call? So many options! Just try to keep it to one 🙂
- A relevant quote – this is a fun way to add a little personality that aligns with your brand & heart
Here’s an example of what my email signatures look like for both our Pete + Jordan brand as well as my personal marketing brand:

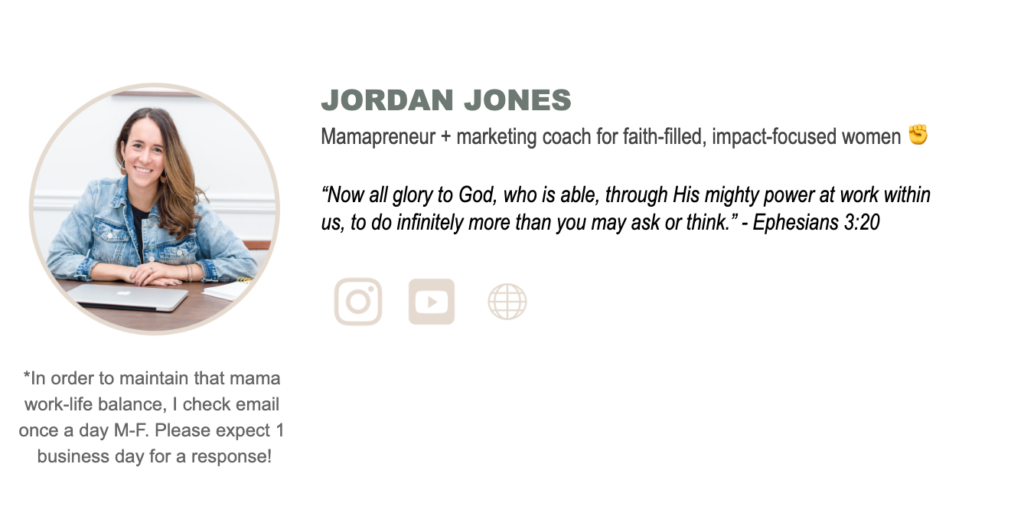
As you can see, what I share in each is slightly different, based on our branded and business. If I were to add a new opt in or launch a new program, I’d include that in my Jordan Jones signature (hint hint 😉 )
Okay, on to the fun stuff – let’s start building your own email signature!
Building Your Custom Gmail Signature
I use G Suite for my businesses (& I highly recommend you do too!) so I’m going to walk you through the exact steps of how to create a branded email signature to use with your awesome business Gmail account.
*Note: this will work with any kind of gmail account (even if you don’t have G Suite)!
Here are the 4 simples steps to creating your own email signature:
1. Open up a Google Doc & Create a Table
In your Google Drive, create a new Google Doc (I just named mine “email signature” so it would be easy to find & update as needed).
Then click Insert –> Table and choose the number of rows and columns. For my email signatures, I chose two rows and two columns.

2. Add Your Custom, Branded Info
This is where the fun stuff happens! Add in your photo, text, links, etc in the respective columns and rows.
Note: I created my image to have a circle colored outline in Canva first, as well as my branded social images. Then I just inserted those images on this Google Doc and hyperlinked them.
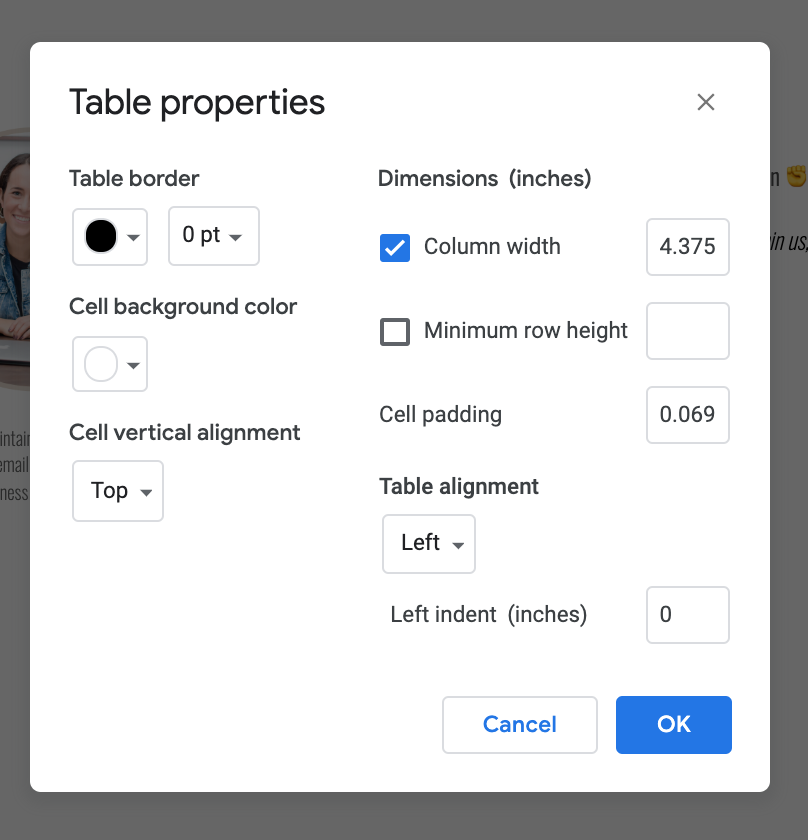
3. Format Your Borders & Layout
Personally, I didn’t want any lines in my email signature, so I removed the borders from the table.
You can do this by going to Format –> Table –> Table Properties and making the border “0 pt”.
If you’d rather have one border in the center to separate your image from the text, you could also highlight the cells and click on the drop down arrow on the top right-hand side of the table. Then select where you want your border to be.

4. Add Your Custom Email Signature in Gmail
Once you’ve edited your email signature to look exactly as you’d like, all you have left to do is copy the entire document and paste it into your gmail email settings.
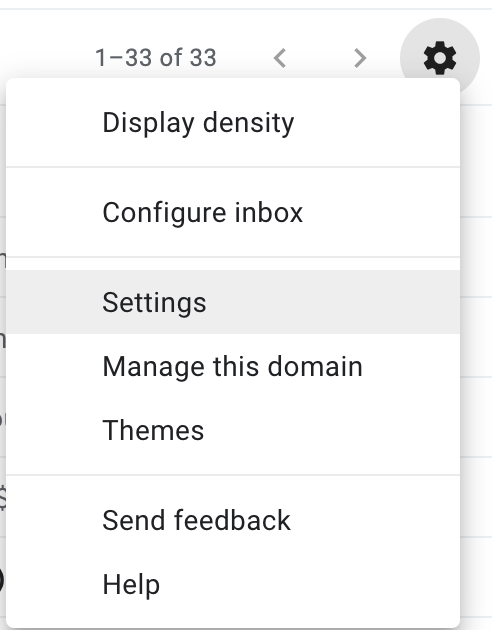
Log into your gmail account, click on the gear icon in the top right-hand corner and select Settings:
In the “General” tab, scroll down until you see the Signature section. Choose which email you want to customize the email signature for, and then simply paste your beautiful new signature in the box below!
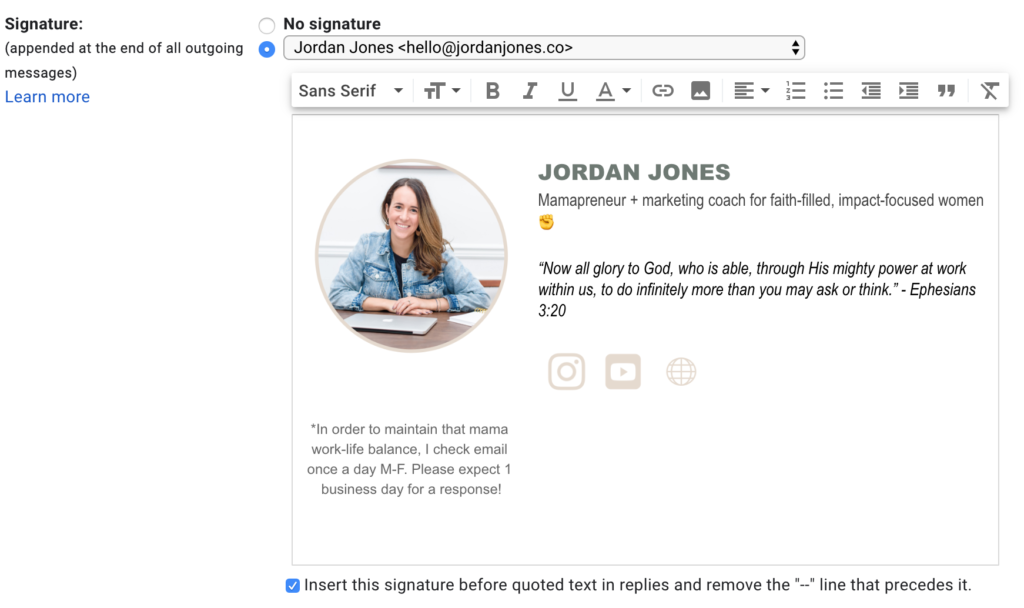
I personally check off the box to insert the signature before quoted text, so that it shows up directly underneath each new email (instead of stacked at the bottom of the entire thread).
If you’re going to create a custom, branded signature with links and call to actions, why would you want to bury it at the bottom right?!
When you’re done, be sure to click Save Changes at the bottom of your settings, and voila! You’re all set!
If you use this tutorial, I’d love to see what you come up with! Shoot me an email at hello@jordanjones.co or comment below with a photo of your own custom email signature! 👇💌

View comments
+ Leave a comment