


Thinking of trying to DIY your own website but unsure of how to get started or wondering which platform to choose? I’ve got you, friend.
In this post, I’m going to share all of the ways you can get started building your own website and why I chose Showit to build mine!
Can You Build a Website Without Learning Code?
Ahhh html code. If you didn’t geek out over your computer science class like I did, then just the thought of navigating website code probably gives you hives.
So is it really possible to build a quality, well-designed site – WITHOUT learning code?
Yes. yes. And YES. Showit makes it that easy (so easy that I built my own website in less than a week – more on that in a minute!)
But first, a little background.
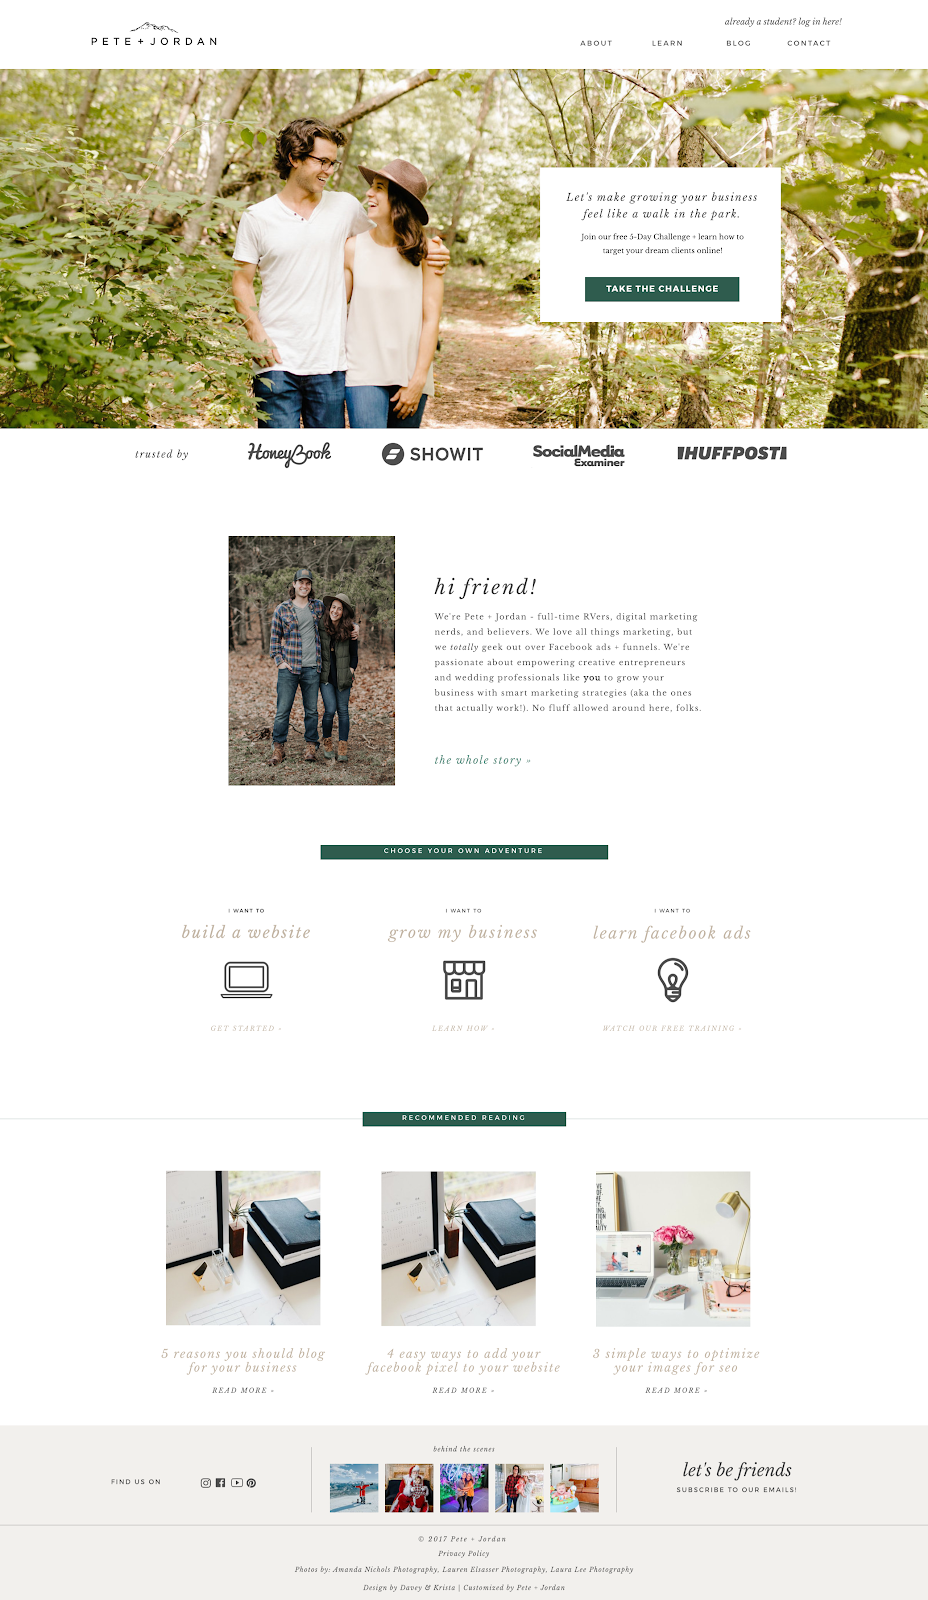
Pete and I started our business by building websites for small business owners. YEP – our first dip into entrepreneurship was as web designers.
We built sites for everyone from a frozen yogurt shops to lawyers, coaches, and even an electrical company. We ALWAYS built on WordPress, because we believe in its power as the best blogging platform, and we knew enough code that we could customize WordPress themes.
This was before we knew about Showit.
Then, when our business started to evolve and we entered the world of wedding professionals/creative entrepreneurs, we were finally introduced to Showit as a web design platform.
Guys. I had ALL of the heart eyes, right away. In one week, I pretty much ditched our own website, signed up for Showit, and customized a template. Needless to say, I was hooked and have never looked back.
Why I Love Showit
Okay so back to the beauty of Showit – it’s an incredibly powerful web design platform that was built for people who do NOT want to (or need to) code.
AKA – you can save yourself the fears, tears, and hassle and design a website in an easy, drag-and-drop tool instead!
Honestly, even as someone who knows code and is comfortable navigating custom WordPress templates, Showit is still my #1 choice.
Fun Fact: I had “build a new website” on my to do list for 2 years.
TWO YEARS, YOU GUYS.
I built an “ehhh” site that I didn’t love on WordPress just to have one live, and then never touched it again because I was too overwhelmed to think about taking all the time I’d need to create it how I wanted.
Fast forward to November 2019, and I scheduled a coworking day with my friend Laura. I legit built a NEW Showit site in TWO DAYS.
Yep, the site that I procrastinated one for two years *finally* got built thanks to Showit!
Showit Template Designs
By FAR one of my favorite things about Showit is their amazing community of designers.
There are incredible free templates to choose from (we started with a free one from Davey + Krista!) as well as a TON of premium templates in their Design Store.
Rethinking the DIY route? There are a ton of companies who specialize in building custom Showit sites, like Davey & Krista, Tonic Site Shop and With Grace and Gold to mention a few.
For this site, I had actually hired a designer over a year ago (remember when I talked about my procrastination problem?) so I took a lot of inspiration from that, tweaked it for my new business, and used a free template to get started!
Tips for Getting Started with Showit
Okay, so you’ve decided Showit is your jam, you’ve chosen a template, and you’re ready to get started. YAY!
While Showit has a SUPER easy drag-and-drop interface, it can be a little confusing at first to navigate the different sections and find what you’re looking for. Here are a few pro tips if you’re just getting started
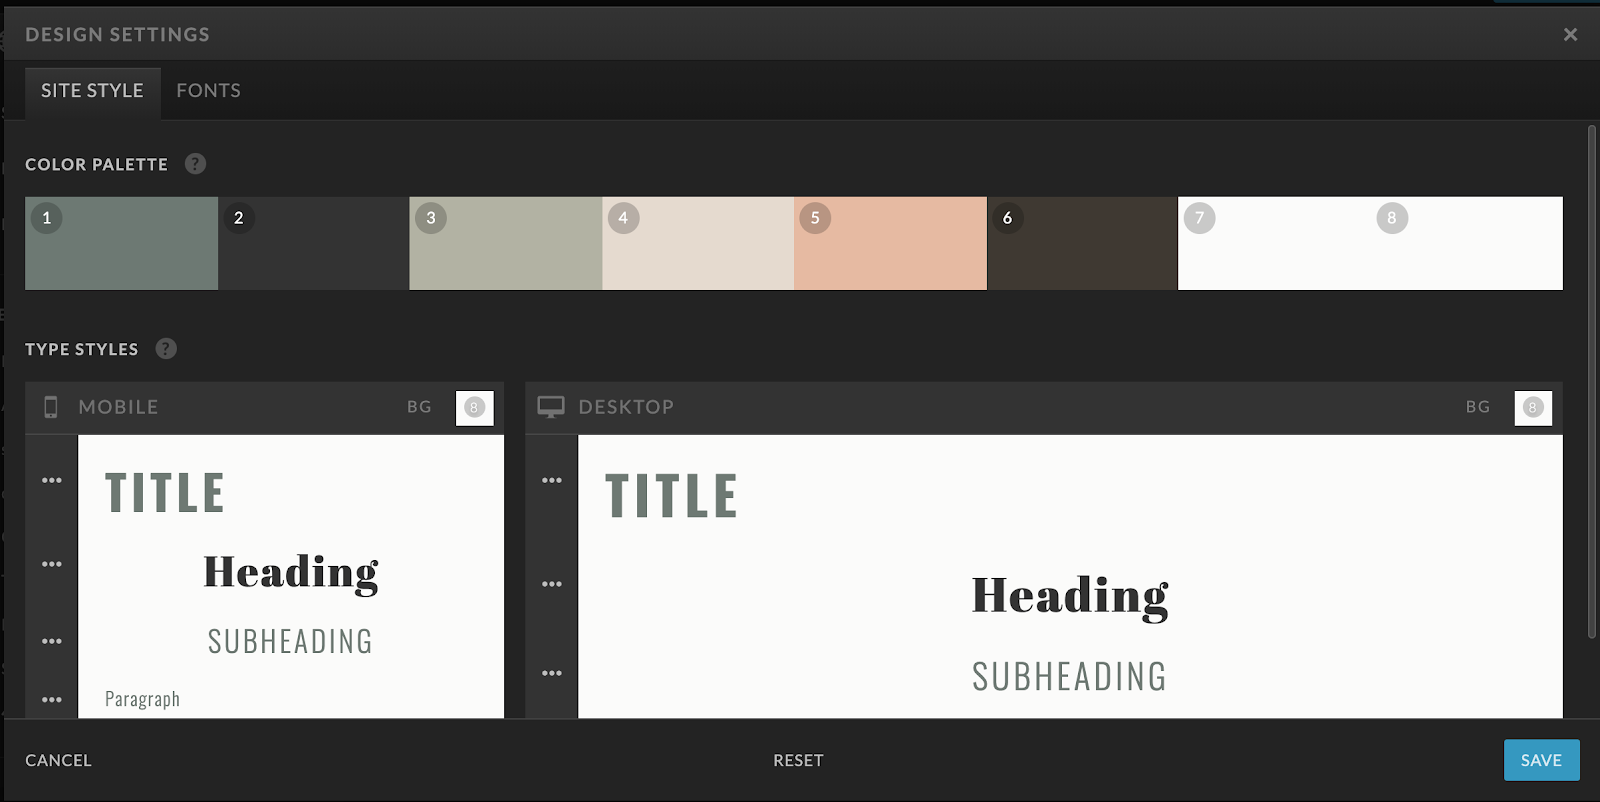
1 – Customize your Design Settings
Choosing your brand fonts and colors ahead of time will make the design process SO much easier!
2 – Site vs. Page view
On the left-hand dashboard, you’ll see two options: Site + Page. The Site view is where you’ll be able to see all of the pages on your website, as well as your blog templates. If you want to edit something within a page, you’ll want to toggle over to the Page view so you can see the elements within the page itself.
3 – Utilize Site Canvases
If you’re designing a section that you know you’ll use on multiple pages (like the navigation or footer), you’ll want to make that section a Site Canvas. In Showit, a “canvas” is just their term for a section of your site. So turning a canvas into a Site Canvas allows you to add that same section to other pages on your website easily, without having to recreate it every time.
To turn a section into a Site Canvas, simply click the ellipses on the right-hand side of the Canvas name and select “Convert to Site Canvas.”
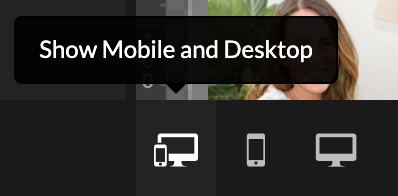
4 – Design for Mobile and Desktop
One of the COOLEST parts about Showit is that you can completely customize the mobile and desktop views. I will be totally honest and say it was also probably the biggest learning curve for me. It’s important to know your site won’t automatically optimize for mobile, which means you HAVE to design BOTH a mobile and desktop version of your pages. But that also means you have COMPLETE control over how both views look!
You can toggle the view on the bottom (I prefer to edit desktop first and then switch over to fixing the mobile):
5 – Centering Elements on Your Site
This is like a magic genie feature in my opinion! When you’re editing an element, go to the “Size & Position” tab on the right-side editor.
Click the button for whether you want it centered horizontally or vertically on your canvas – and voila! No more guessing. It’s perfect.
6 – Add Your Favicon
This is something we see a lot of people forget or skip over, whether they’re building a site on Showit or a sales page on Leadpages.
Your favicon is the tiny icon (usually a version of your logo) that appears in the browser tab when you load your website. To customize this in Showit, simply click on “Site Settings” and then upload your image where it says “Favicon.”
7 – Get Help in the Facebook Group
Odds are, you may have some more questions as you’re building your own Showit site.
While this list certainly isn’t exhaustive by any means, there IS an incredible support group on Facebook! It’s where I ask any questions when I get stuck! I can’t rave enough about Showit’s community – both their team and the “Showiteers” who use Showit for their businesses (more on this below!).
8 – Save on Your Showit Subscription
This is a *BONUS* pro tip!
If you don’t already have a Showit side, you can use the code “PETEANDJORDAN” to save 10% off your Showit subscription! WOO!
The #1 Reason We Love Showit
Last but not least, I wouldn’t be able to talk about Showit as a design platform without at least mentioning Showit as a community.
When you start building your site on Showit, you don’t get just a beautiful, super easy to update website. You join a community of creatives like no other.
Each year, Showit hosts the United conference in Tempe, AZ – and I’m not going to lie, it’s one of my favorite things I do all year. The first year I was nervous to go because as someone who isn’t a photographer, I felt like maybe I didn’t belong. Thankfully, a few friends convinced me to show up, and I am SO glad I did!
If there’s anything I’ve learned from being at United, it’s that everyone belongs. There’s room for us all to grow amazing businesses, and the more we come together to learn from each other, the easier it’ll be.
Related post: Showit United 2019 Recap!
Do you have any questions about Showit? Anyone else easily DIY their website on Showit?! We’d love to see 👉 drop your link in the comments below!

View comments
+ Leave a comment