


With everyone and their mother running to switch over to Flodesk for their email service provider (me included!), this topic of embedding forms has become one of the most requested posts of all time.
Special shoutout to Kira for following up and making sure I *actually* followed through to write and share it!
What is Flodesk?
First things first, if you haven’t heard of Flodesk, you’re in for a treat.
Flodesk is an email marketing tool that will take your emails from blah to creative, inspiring, and EASY.
We’ve tried quite a few platforms in our day (MailChimp, ActiveCampaign, Drip, Convertkit to name a few…). Flodesk is the newest of these options and in my opinion, it’s a very welcome addition to the email marketing world!
I know not everyone geeks out over email marketing like I do, which is why I think Flodesk is the perfect solution for a lot of creative entrepreneurs. It’s simple, easy to use, and creates really stinking beautiful emails.
They’re currently in beta as this is being written, so they’re constantly releasing new features (like workflows & a Zapier integration! 🙌). They also have a kick-butt community on Facebook that will help answer your questions as you’re working on your own email marketing plan!
Pro tip: You can grab 50% off your Flodesk subscription with our special link here! 💸
Embedding Flodesk Opt-In Forms
If you’re going to use Flodesk (or any email service provider for that matter), you’re going to want people to actually join your email list right?!
That’s where this blog post comes in. There are a lot of ways to invite people to join your list, but for this blog, we’re going to focus on how to add inline forms to your website on Showit.
Here are the 5 simple steps to adding your form to your Showit website!
1 – Create a Ribbon Form in Flodesk
When you’re logged into your Flodesk account, click on Forms on the top navigation bar then click the “+ Create New” button.
Choose “Inline” forms and click on the Ribbon Banner option.
You’ll then need to design and customize your form as well as choose which segment you want these opt-ins to be added to.
If you already have a Ribbon Form created, you’re one step ahead. Simply select the Ribbon Form you’d like to embed and click “Edit.”
Personally, we kept our form design super simple so that we could add the text and headline in Showit itself (instead of designing that in Flodesk).

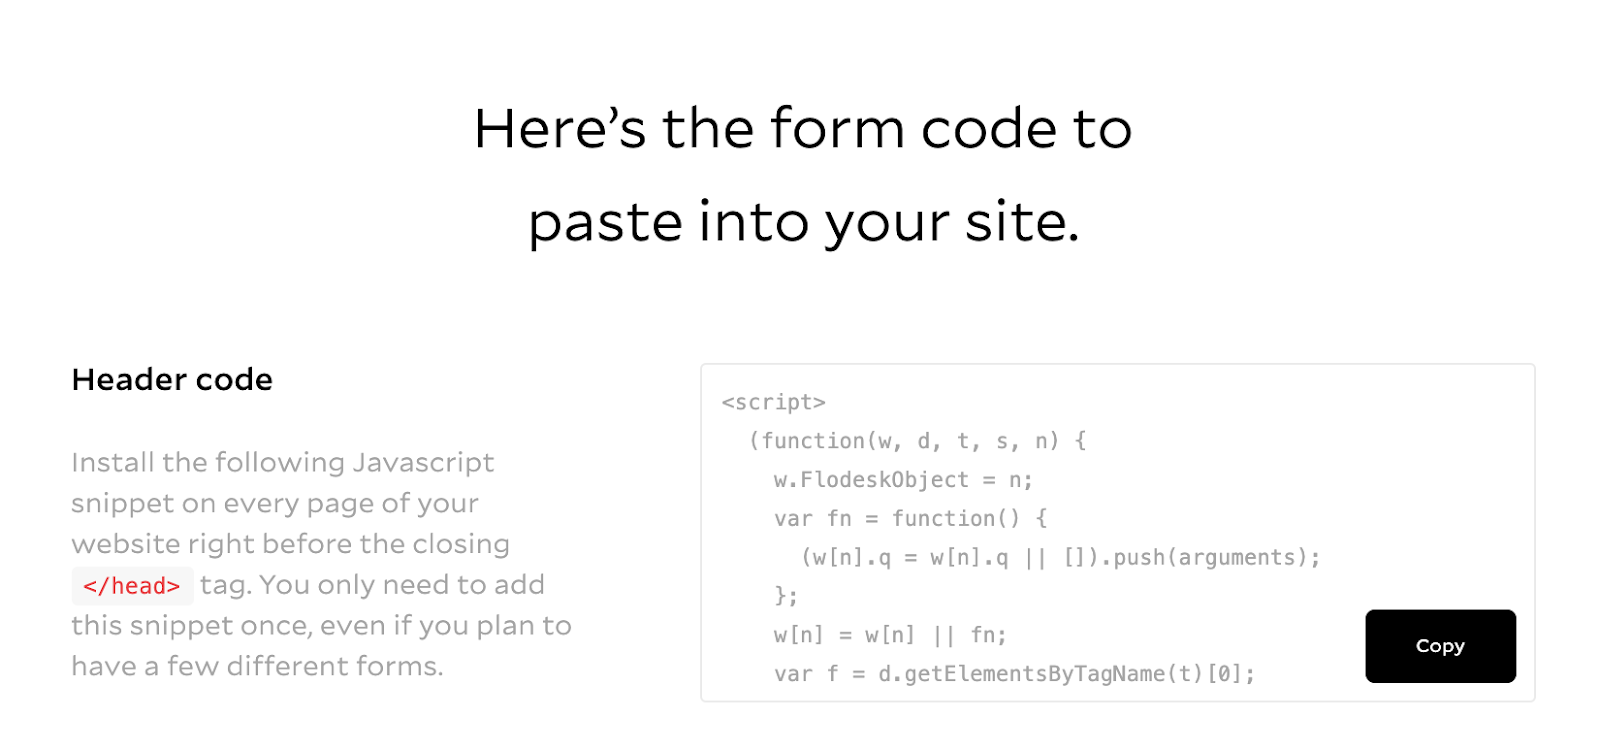
2 – Add Header Embed Code
Once you’re ready to add your form, there are two places you’ll need to embed codes on your Showit site.
Click on “Embed” on the top navigation bar of your form:

First, you’ll want to select the code that says Header Code. Copy that code.
Head to the backend of your Showit site, and click on the page you want to add this form to.
*NOTE: If this is a form that will be on every page of your site (like in a footer like ours is), then you’ll need to repeat this step for EVERY page you want this form to appear on.
Click on the page on the left-hand dashboard on Showit and make sure that none of the sections are selected.
On the right-hand dashboard, you should see the section titled Advanced Settings. Open that option, and paste the Header Code there. Again, make sure to paste this code on every page you want to embed this form on!

3 – Add Inline Form Embed Code
Once you’ve added the Header Code to every page on your Showit site that you want the form to show up on, you’ll want to copy the Inline Code from Flodesk.

This is the code that you’ll add wherever you want the form to appear on your page. For us, this was in the footer. So head to the section or canvas where you want to add the code and click on the Embed Code option at the bottom of your editor.

Double click on the element that gets added (it should look like a grey box) and paste the Inline Code there.
4 – Preview and Adjust Code
Once you have that code added, you’re all set!
Since you won’t be able to see the form itself in the Showit editor, you’ll want to preview your site on Showit before publishing. This way you can make any adjustments or edits to the form or the location in Showit!
5 – Publish and Grow
Everything looks good? Hit that publish button and get that baby out in the world!

Personally, I make sure I test everything, so I’d also recommend submitting the form yourself on your website to make sure it loads properly and you are added to the correct segment in Flodesk!
That’s it, friends. Easy peasy 🙂
If you found this tutorial helpful or if you have any questions, let me know in the comments below!
✨ Bonus points: share a link to where you added your form on your website with me!
*Disclaimer: This post includes affiliate links and I would love it if you decided to use them. Affiliate links + referrals programs help educators like me to fund the free content that we provide on our blogs at no additional cost to you.

View comments
+ Leave a comment